Everything Vascular
Public and Patients
Vascular Specialists
Info & Contact
Everything Vascular
Public and Patients
Vascular Specialists
Info & Contact
Covid19 Gallery2
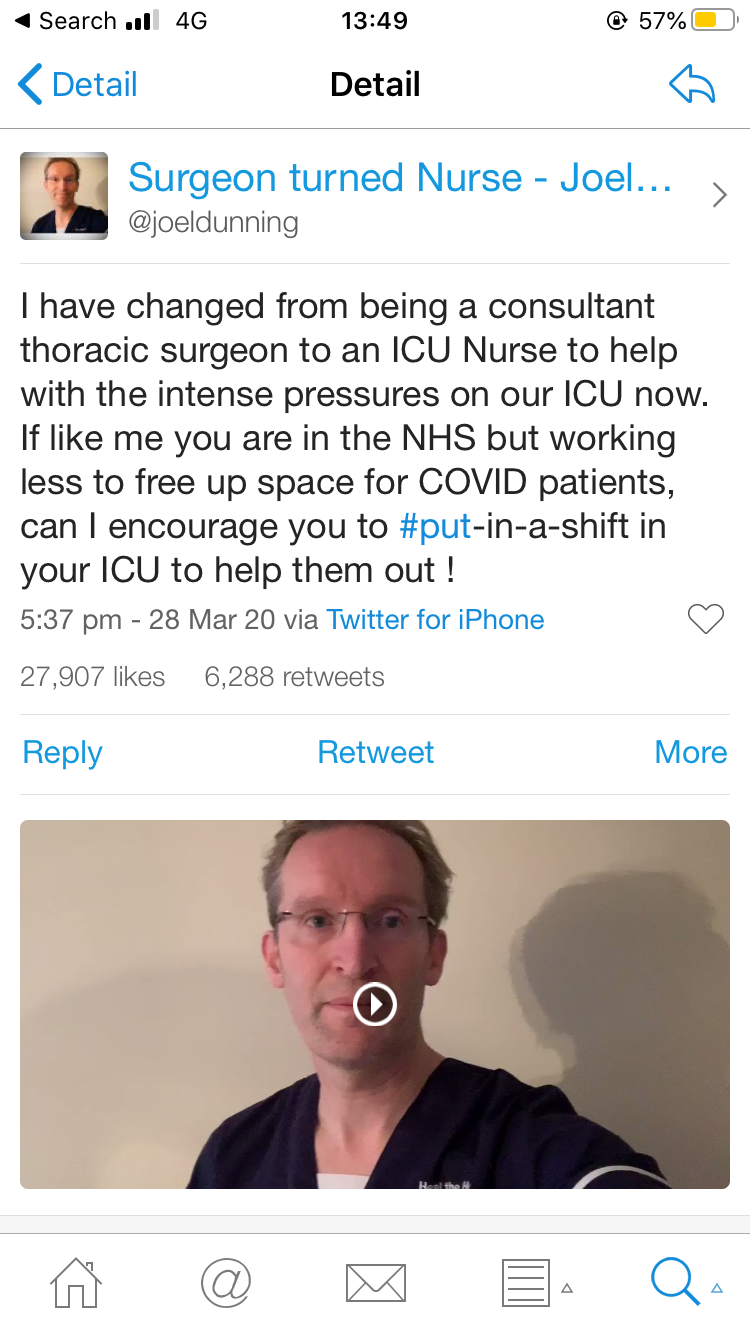
Click image for an explanation of this Treatment Algorithm and its source